
How to Request a Custom Domain on TempZap
Using a custom domain with TempZap allows users to create temporary email addresses using their own domain name. This feature is useful for developers, businesses, and advanced users who want more control and flexibility over their temporary email addresses.
In this guide, we will explain how to request a custom domain on TempZap step-by-step.
Step 1: Create a TempZap Account
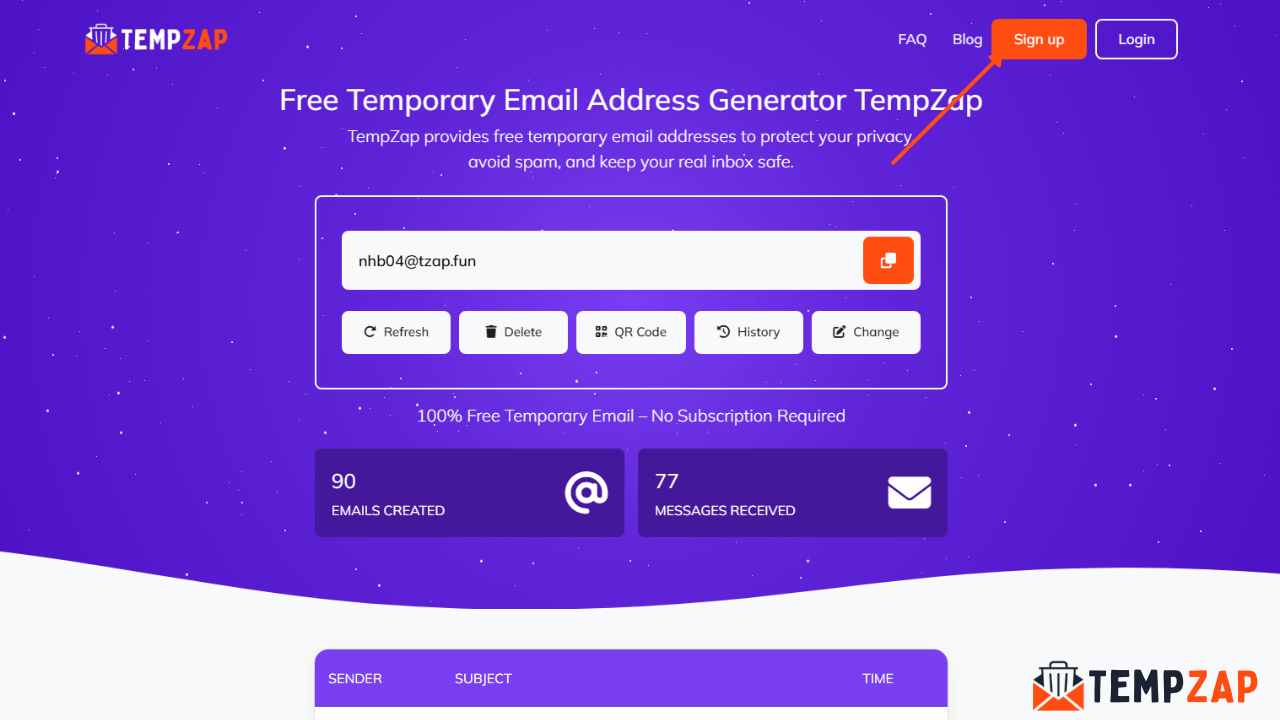
Before requesting a custom domain, you must first create an account on TempZap.
Visit the TempZap website.
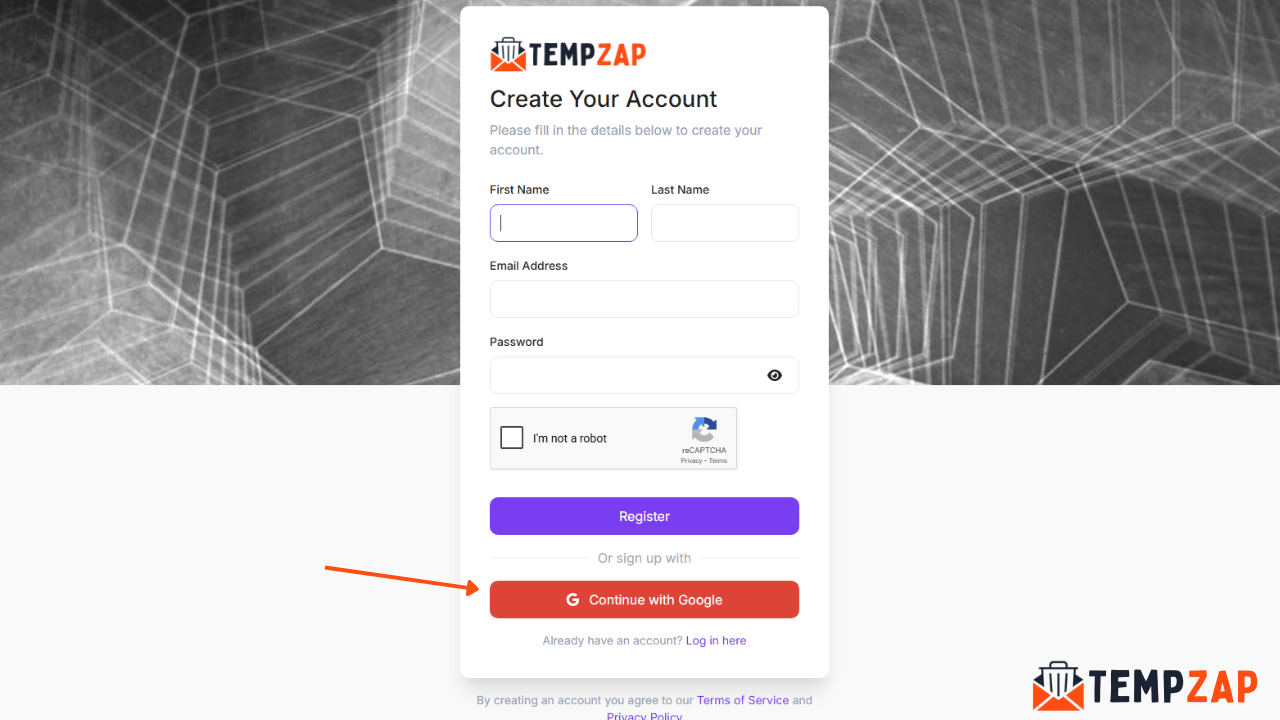
Click on the Sign Up button.
Enter your details such as:
First name
Last name
Email address
Password
Verify your email address and log in to your account.
Creating an account allows you to manage your domains, email history, and other features available in the TempZap dashboard.
Step 2: Open the Domains Section
Once you are logged in:
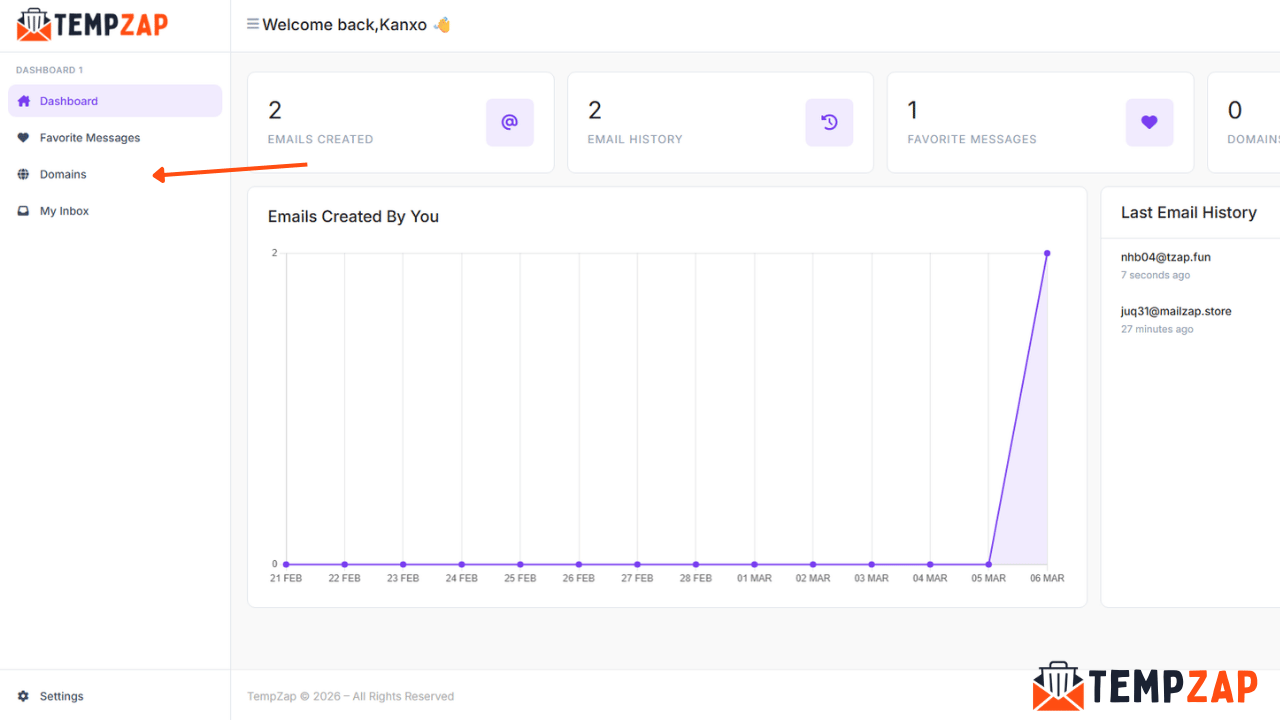
Go to your User Dashboard.
Locate the Domains section.
Click on it to view your domain management area.
This section allows you to request and manage custom domains connected to your TempZap account.
Step 3: Click “Add New Domain”

Inside the Domains section:
Click the Add New Domain button.
A form will appear where you can submit your domain.
Make sure the domain you want to use is active and belongs to you.
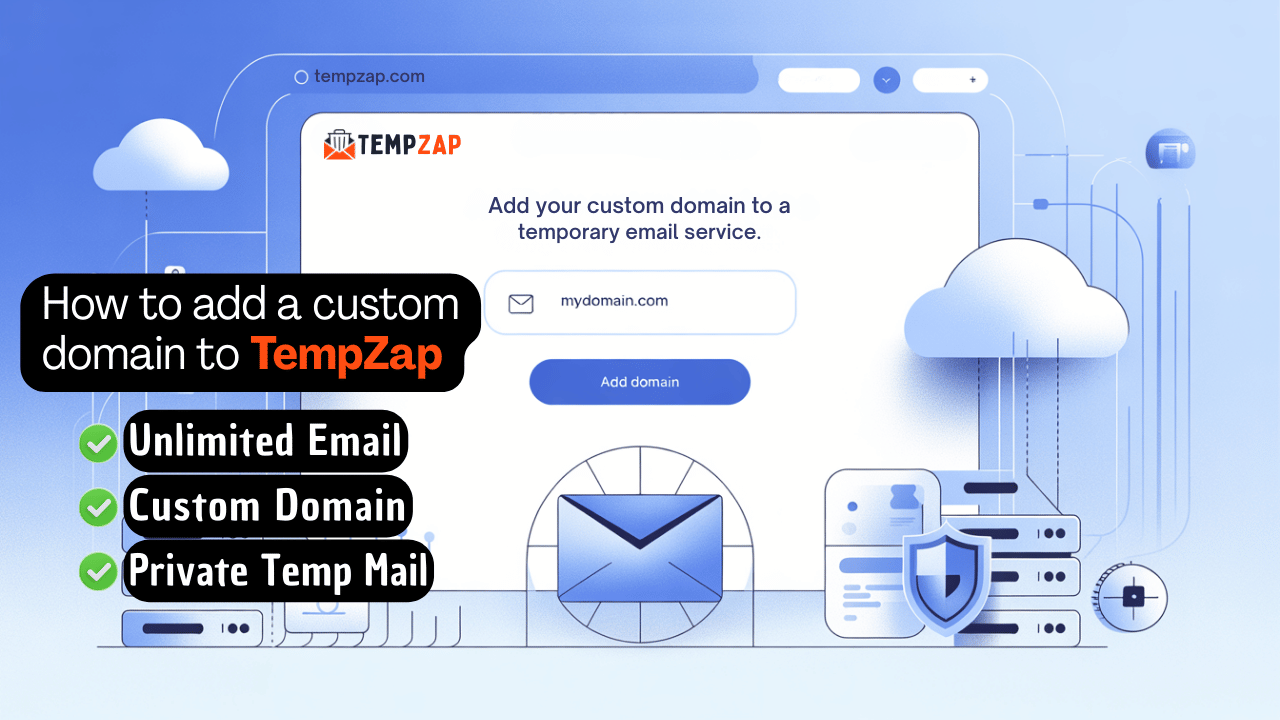
Step 4: Enter Your Domain Name
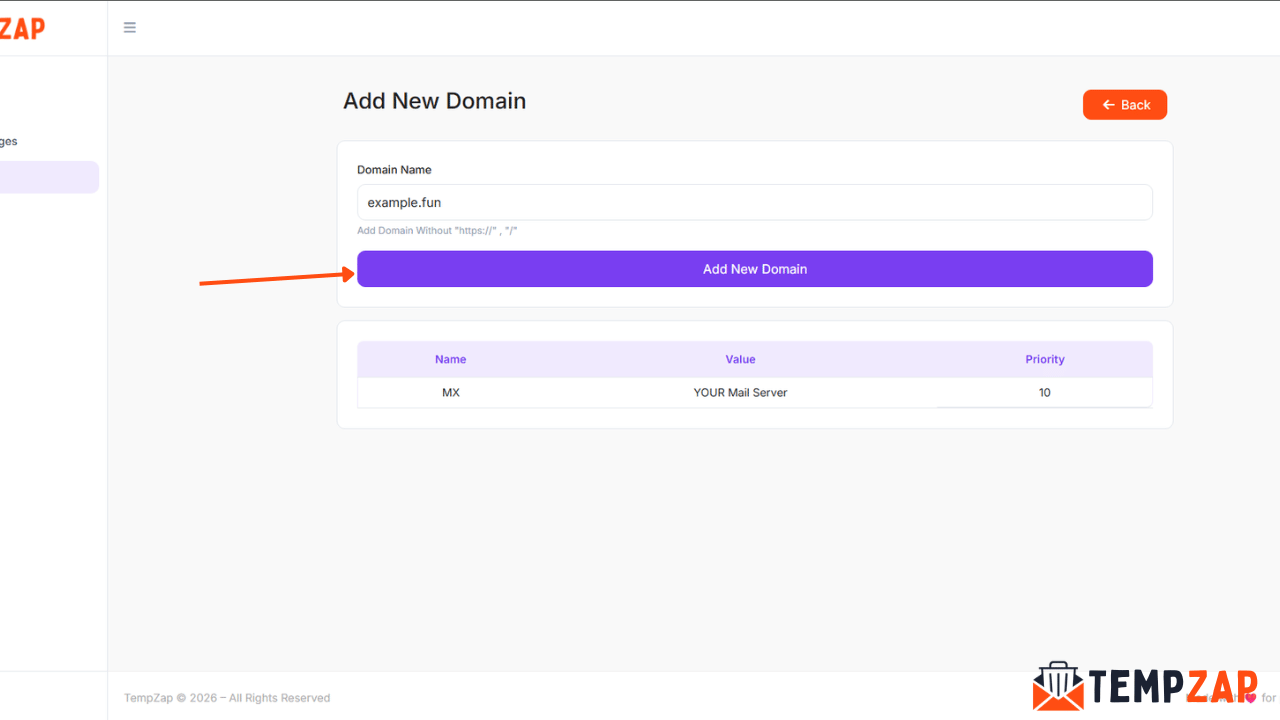
Now enter your domain name in the input field.
Important rules:
Do NOT include http:// or https://
Do NOT add / or extra paths
Only enter the domain name
Example:
Correct:
mydomain.com
Incorrect:
https://mydomain.com
http://mydomain.com/
http://mydomain.com/
After entering the domain name, click Add New Domain.
Step 5: Admin Review Process
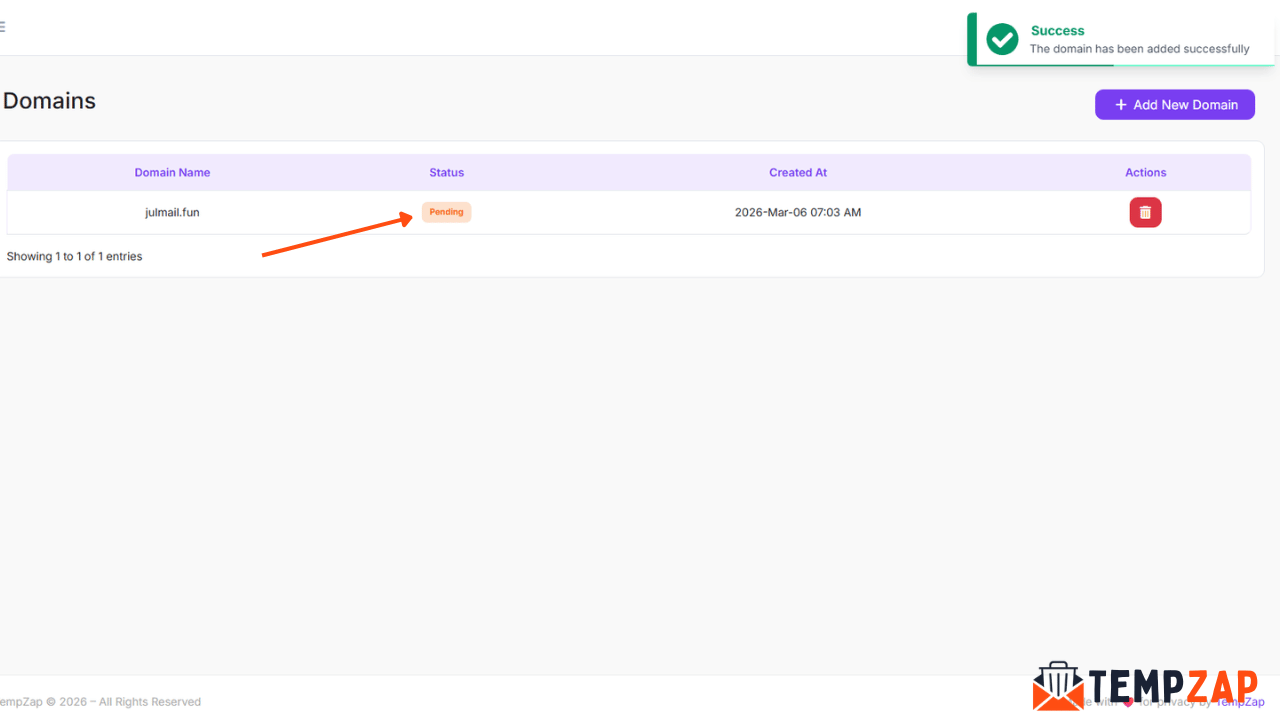
After submitting your request:
The TempZap team will review your domain request.
We will check if the domain is available and compatible with our system.
This process ensures that the domain can properly work with the TempZap temporary email service.
Step 6: Domain Approval

If your domain meets all requirements:
It will be added to our system
Your domain will become available for use within 7 days
You will be able to generate temporary emails using your domain
Example:
Step 7: If the Request Is Rejected
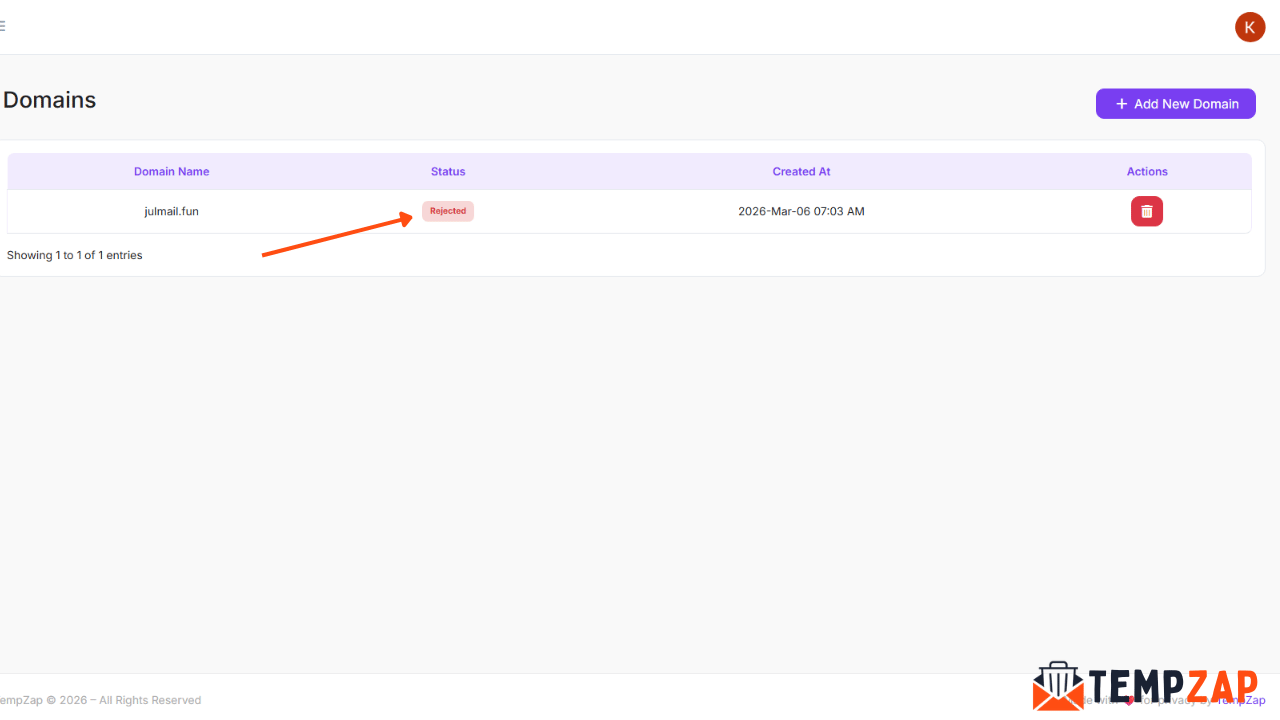
Sometimes a domain request may be rejected.
This can happen if:
The domain is already used in our system
The domain has configuration issues
The domain violates our platform policies
If this happens:
The request will be canceled
You will receive an email notification
The email will explain why the request was rejected
You can then fix the issue and submit a new request.
Tips Before Submitting a Domain Request
To increase the chances of approval:
Make sure your domain is active
Do not include http or https
Ensure the domain is not already used by another user
Use a clean and valid domain name
Final Thoughts
Requesting a custom domain on TempZap is simple and allows you to create temporary email addresses using your own domain. By following the steps above, you can quickly submit a domain request and start using it with the TempZap platform.
Custom domains make the TempZap service even more powerful for users who want flexibility, branding, and better email control.
If you are new to TempZap, you can learn more about how temporary emails work in our FAQ section.